Loading, please wait...
Running
7 Night-Running Essentials for Dark Mornings and Evening Miles
Build a practical night-running kit with lighting, reflective gear, phone storage, and a budget worksheet for dark mornings and evening runs.
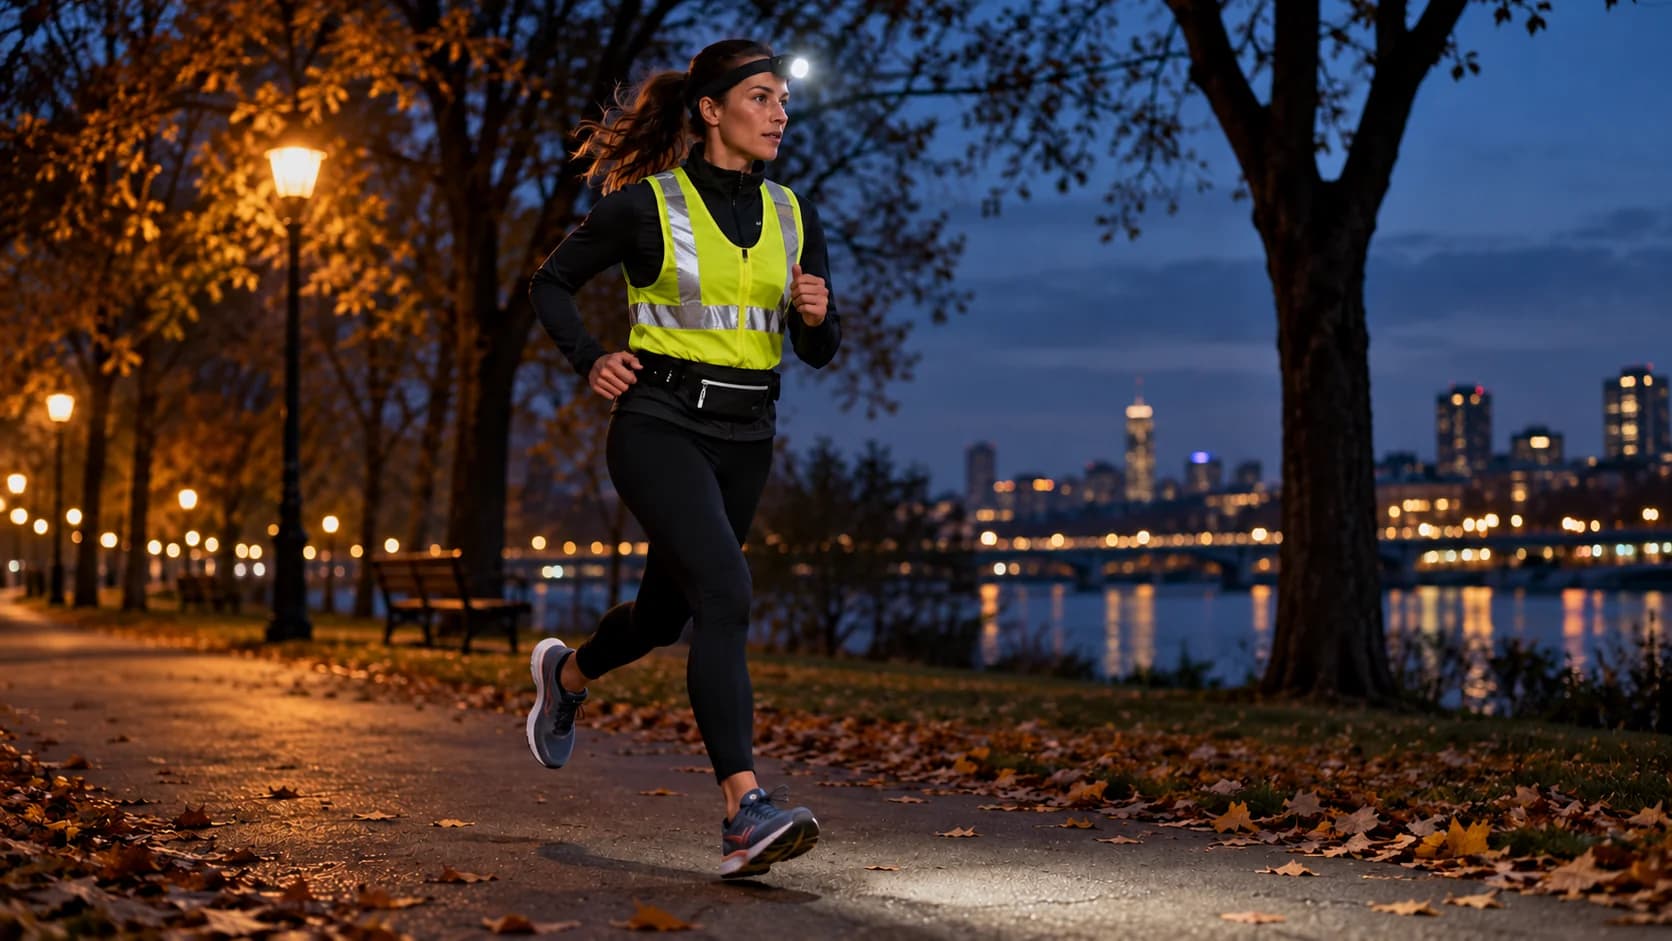
A useful night-running setup solves three problems: seeing the ground, helping other people see you, and carrying what you need if the run does not go to plan. Start with a forward light and a visible outer layer. Add the remaining pieces according to your route, rather than buying every accessory with “safety” in the name.
These seven essentials cover dark mornings, after-work runs, and the practical details that often get missed in a headlamp roundup. Three exact products are linked for comparison. The list also includes low-cost or free steps because a full shopping cart is not the measure of a well-planned run.
As an Amazon Associate, AthleteXpert earns from qualifying purchases. This article contains affiliate links.
How we selected: public pedestrian guidance, manufacturer specifications, and route-based buying considerations. AthleteXpert has not independently measured these products’ beam performance, battery life, or driver detection distance. No item makes a traffic-exposed route risk-free.
First, separate “see the road” from “be seen”
A headlamp points light where you are looking. A visibility vest, reflective bands, and rear marker help show your presence from other directions. They serve different jobs. A light-up vest may be very conspicuous while doing little to illuminate the pothole ahead.
NHTSA’s pedestrian guidance recommends reflective materials or a flashlight at night, sidewalks where available, and attention at crossings. Bright daytime colors alone are a limited night-running plan. Route choice and awareness remain part of the setup.
| Route | Priority | Before adding accessories |
|---|---|---|
| Well-lit neighborhood sidewalks | A visible outer layer and enough forward light for dark gaps | Check driveways, crossings, and changing streetlight coverage |
| Unlit paved path | A forward beam you can comfortably run with, plus visibility | Check surface hazards and an easy way to turn back |
| Technical trail after dark | Route-appropriate lighting, a backup, and a more complete outing plan | A basic neighborhood kit may be insufficient |
| Road with no suitable pedestrian space | A route reassessment | More gear does not create a sidewalk or remove traffic exposure |
1. A forward light that makes the surface readable
Choose lighting for your pace and route, not the largest lumen number on the packaging. Check beam spread, fit, usable runtime at the setting you expect to use, and how the lamp feels when you move. A narrow bright spot can leave the surrounding ground hard to read.
The PETZL TIKKINA is an uncomplicated option to compare for paved routes. Petzl specifies a wide beam, three white-light levels, and up to 300 lumens. It comes with three AAA batteries; the compatible CORE rechargeable battery is a separate accessory. Those specifications do not make it a universal recommendation for fast or technical trail running.
Compare it if: you want a simple lamp and are comfortable managing AAA batteries. Look elsewhere if: you need built-in charging, a different running fit, or more route-specific lighting. Try the fit before a long outing and point the beam toward the ground without dazzling other people.
Read the TIKKINA catalog entry.
Check the PETZL TIKKINA on Amazon
2. A visibility layer worn outside your jacket
A reflective vest or harness can be a sensible first purchase. Wear it over your outermost layer and check that a backpack or jacket does not hide it. Reflective material needs an external light source to return light; an active light-up layer adds its own illumination.
The Noxgear Tracer2 is an active upgrade to compare if you run in the dark frequently. The manufacturer specifies USB-C charging, reflective elements, an adjustable chest band, and several light modes. Its optional Tracer Lamp is a separate forward-light attachment. The vest alone should not be mistaken for a headlamp replacement.
Compare it if: you want a rechargeable visibility layer you will use repeatedly. Skip the upgrade if: a suitable reflective layer already covers your needs and the additional cost would leave no budget for forward lighting. Check fit over the clothing you actually wear.
Check Noxgear Tracer2 size options on Amazon
3. Reflective ankle or wrist bands that stay exposed
Bands are a compact way to add reflective material around moving limbs. They can work with clothing you already own, which is useful when you would rather avoid buying a new reflective jacket. Check their circumference over your layers and whether they rub, slide, or restrict movement.
Worth considering: when the reflective details on your tights or top are small or covered. Easy to skip: if your existing clothing already gives you exposed reflective coverage and another band adds discomfort. These supplement your setup; they do not illuminate the ground or guarantee that a driver notices you.
4. A rear or side marker where your main light leaves a gap
A forward lamp does not face people approaching from behind. Before buying another light, check whether your existing vest already provides the visibility you want around your body. If it does not, a small marker can fill a useful gap.
The Nathan StrobeLight is a clip-on example with steady and blinking modes described by Nathan’s European store. Confirm the model and attachment method available in your market. Use a permitted mode that suits the route and nearby people.
Worth considering: for an exposed rear pocket, belt, or outer layer that can hold the clip securely. Skip a duplicate: if your active vest already addresses the same need. A marker hidden under a jacket is a poor use of money.
5. Secure phone and key storage
A phone is more useful when it stays with you. Try an existing zipped pocket first. If the phone bounces, pulls your clothing down, or does not fit, then compare a belt rather than buying a hydration pack for a short run solely to carry keys.
The SPIbelt Original is a small-essentials option. Confirm that the specific pocket fits your phone with its case and that the waist adjustment works over your layers. Do not assume every phone fits every belt in the brand’s range.
Compare it if: your current pockets are the weak point. Skip it if: your clothing already carries the same items securely. Storage is a practical part of the run, but the belt itself does not provide lighting.
Read the SPIbelt catalog entry.
Check the SPIbelt Original on Amazon
6. Identification and a simple check-in plan
Carry identification or an emergency contact card, and let someone know the route and approximate return time when that fits your circumstances. A written card can cover the basics without requiring another purchase. Keep private details limited to what you want someone assisting you to find.
For an unfamiliar route, plan an easy turn-back point before leaving. A charged phone is useful, but do not build the whole plan around uninterrupted reception or a battery that lasts longer than expected.
7. A battery plan matched to the length of the run
Check power before you get dressed. Runtime claims depend on the light mode; the biggest brightness number and longest runtime usually describe different settings. Use the manufacturer’s table for the mode you expect to run with, and leave a margin.
For a short neighborhood loop, fresh batteries or a fully charged light and an easy return route may be enough. Longer dark outings call for a suitable backup and a more complete plan. A USB-C cable does not help a AAA-powered lamp unless you also have the compatible rechargeable system.
How to shop with a $100 ceiling
Treat $100 as a spending limit, not as a claim that a particular bundle currently costs less than $100. Here is an allocation to guide comparison. These are shopping caps, not verified product prices, and tax or shipping must fit inside the total.
| Category | Example spending cap |
|---|---|
| Forward light | $30 |
| Basic reflective layer | $20 |
| Reflective bands | $10 |
| Optional marker | $15 |
| Tax, shipping, batteries, or remaining needs | $25 |
Use existing pockets and a written contact card to avoid spending on storage you do not need. A premium LED vest may exceed the reflective-layer allocation, so recalculate the basket rather than pretending it fits the same budget. If no suitable products fit your caps, revisit the allocation or choose a well-lit route while you build the kit.
The five-minute check before your first dark run
- Turn on the light and confirm the setting you will use.
- Put the visibility layer over the final jacket or top.
- Check which reflective areas or markers the phone belt and backpack cover.
- Walk and jog briefly to check bounce and attachment security.
- Confirm the route, weather, crossings, and return plan before starting.
For the rest of your basic kit, our ten budget running essentials explain what to buy first. Use this night-running list to solve the visibility and lighting gaps that become more noticeable when daylight runs out.
Research checked: October 7, 2026. Recheck product versions, power requirements, seller terms, and final basket cost. Manufacturer specifications support the product descriptions; the route priorities and budget allocation are editorial guidance.